Hanging a picture can be a simple task if you have the right tools and knowledge. Whether it’s a family photo, a piece of artwork, or a decorative mirror, properly hanging it can enhance the look of your living space. In this post, we will provide you with a step-by-step guide on how to hang a picture, including the different tools and materials required. We will also discuss various surfaces such as drywall, wood, and concrete and provide tips on how to hang a picture on each surface.
Tools and Materials Needed To Hang a Picture
Before we dive into the process of hanging a picture, let’s discuss the tools and materials you will need. Here are the basic tools and materials required:
- Picture hanger (nail, screw, adhesive strip)
- Hammer or drill
- Measuring tape or ruler
- Pencil
- Level
- Wall anchor (optional)
- Stud finder (optional)
- Picture wire or sawtooth hanger (optional)
Different Types of Picture Hangers to Use When Hanging a Picture
When it comes to hanging a picture, there are several types of picture hangers to choose from. The type of hanger you choose will depend on the weight of the picture, the type of surface you are hanging it on, and personal preference. Here are some common types of picture hangers:
- Nail and Hook
The nail and hook picture hanger is the most traditional and straightforward way of hanging a picture. It involves hammering a nail into the wall and hanging the picture on a hook attached to the nail. This type of hanger is suitable for lightweight pictures.
- Screw and Hook
The screw and hook picture hanger is similar to the nail and hook hanger, but it uses a screw instead of a nail. The screw provides more support and is suitable for heavier pictures.
- Adhesive Strips
Adhesive strips are a great option for those who want to avoid making holes in their walls. They are easy to use and do not require any tools. However, they are not suitable for heavy pictures or long-term hanging.
- Wall Anchors
Wall anchors are used to provide extra support for heavier pictures. They are inserted into the wall before the screw or nail is inserted, providing a more secure hold.
- Picture Wire
Picture wire is used to hang pictures with a sawtooth hanger. It is attached to the back of the frame and hung on a hook or nail.
Step-by-Step Guide on How to Hang a Picture
Now that you have an idea of the different types of picture hangers, let’s dive into the step-by-step guide on how to hang a picture.
Step 1: Choose the Right Hanger
Before you start, choose the right picture hanger for your picture. Consider the weight of the picture and the type of surface you are hanging it on.
Step 2: Determine the Location
Determine where you want to hang the picture. It’s best to choose a spot that is eye-level or slightly higher. Use a measuring tape or ruler to measure the distance from the floor to the desired height of the picture.
Step 3: Mark the Wall
Use a pencil to mark the spot on the wall where you want to hang the picture. If you are hanging multiple pictures, mark the spots for each picture.
Step 4: Find the Studs (Optional)
If you are hanging a heavy picture, it’s best to hang it on a stud for extra support. Use a stud finder to locate the studs in the wall.
Step 5: Install the Hanger
Now it’s time to install the picture hanger. Follow these steps depending on the type of hanger you are using:
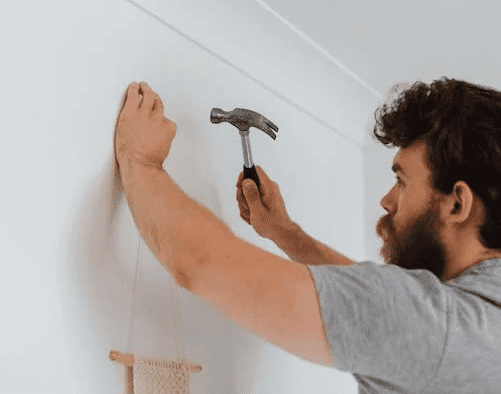
- Nail and Hook: Hammer the nail into the wall at a 45-degree angle. Leave about 1/4 inch of the nail exposed. Hang the picture on the hook attached to the nail.
- Screw and Hook: Use a drill or screwdriver to insert the screw into the wall. Leave about 1/4 inch of the screw exposed. Hang the picture on the hook attached to the screw.
- Adhesive Strips: Peel off the adhesive backing and attach the strip to the back of the picture frame. Press the picture firmly against the wall to attach the strip.
- Wall Anchors: Use a drill to create a hole in the wall where the anchor will be inserted. Insert the anchor into the hole and then insert the screw or nail into the anchor. Hang the picture on the hook attached to the screw or nail.
- Picture Wire: Attach the picture wire to the back of the frame using screws or eyelets. Hang the picture on a hook or nail.
Step 6: Level the Picture
Use a level to ensure that the picture is straight. Adjust the picture as needed.
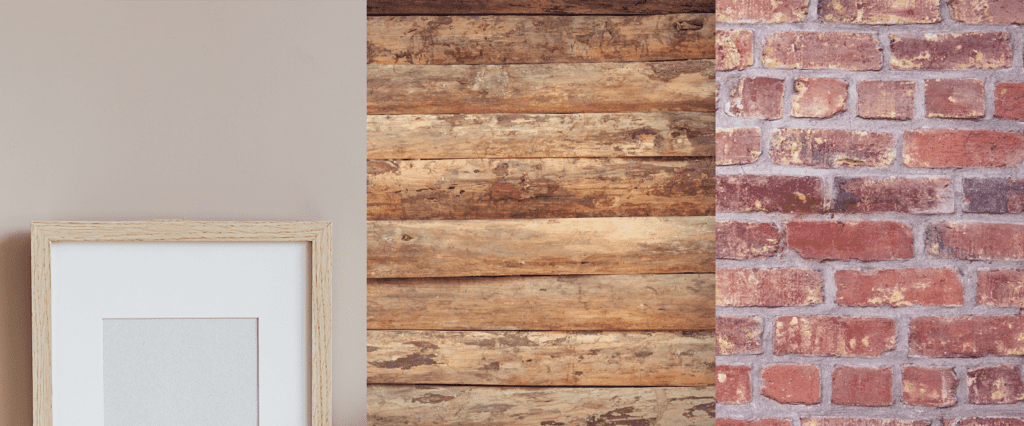
Tips for Hanging Pictures on Different Surfaces
Now that you know how to hang a picture, let’s discuss some tips for hanging pictures on different surfaces.
- Hanging a Picture on Drywall
Drywall is a common surface for hanging pictures. Here are some tips for hanging pictures on drywall:
- Use a stud finder to locate the studs in the wall. If you can’t hang the picture on a stud, use a wall anchor.
- Be careful not to hammer or drill too hard into the drywall, as it can cause damage.
- For large or heavy pictures, use multiple picture hangers spaced evenly apart.
- Hanging a Picture on Wood
Wooden walls or paneling can be tricky to hang pictures on. Here are some tips for hanging pictures on wood:
- Use a drill to create a pilot hole before inserting the screw or nail.
- If the wood is hard, use a screw instead of a nail for more support.
- Use a level to ensure that the picture is straight.
- Hanging a Picture on Concrete
Concrete walls are commonly found in basements or garages. Here are some tips for hanging pictures on concrete:
- Use a masonry bit to drill a hole in the concrete.
- Use a hammer drill for easier drilling.
- Use a wall anchor for extra support.
Final Thoughts
Hanging a picture can be a simple task with the right tools and knowledge. Remember to choose the right picture hanger for your picture and surface, determine the location, mark the wall, find the studs (if necessary), install the hanger, and level the picture. With these tips, you can enhance the look of your living space by hanging pictures like a pro!